Your car’s headlights are the most used and yet get the least attention, resulting in oxidization, fogginess or yellowing. Luckily, headlight restoration doesn’t have to be a costly or time-consuming endeavor.
Restore faded, scratched or discolored headlights with NOVUS Plastic Polish kit, the best plastic polish in the market for your DIY headlight restoration project.
Why Headlights Fade
Did you know that the lens on your car’s headlights is made up of polycarbonate plastic? The headlights come with UV protective coating from the factory, which can fade over a period of time, leaving the polycarbonate exposed to the sun’s rays and other elements.
This results in yellowing or discoloring of the lens, making the headlights look foggy. It is also a road hazard due to poor light output, especially when driving in inclement weather conditions or late at night.
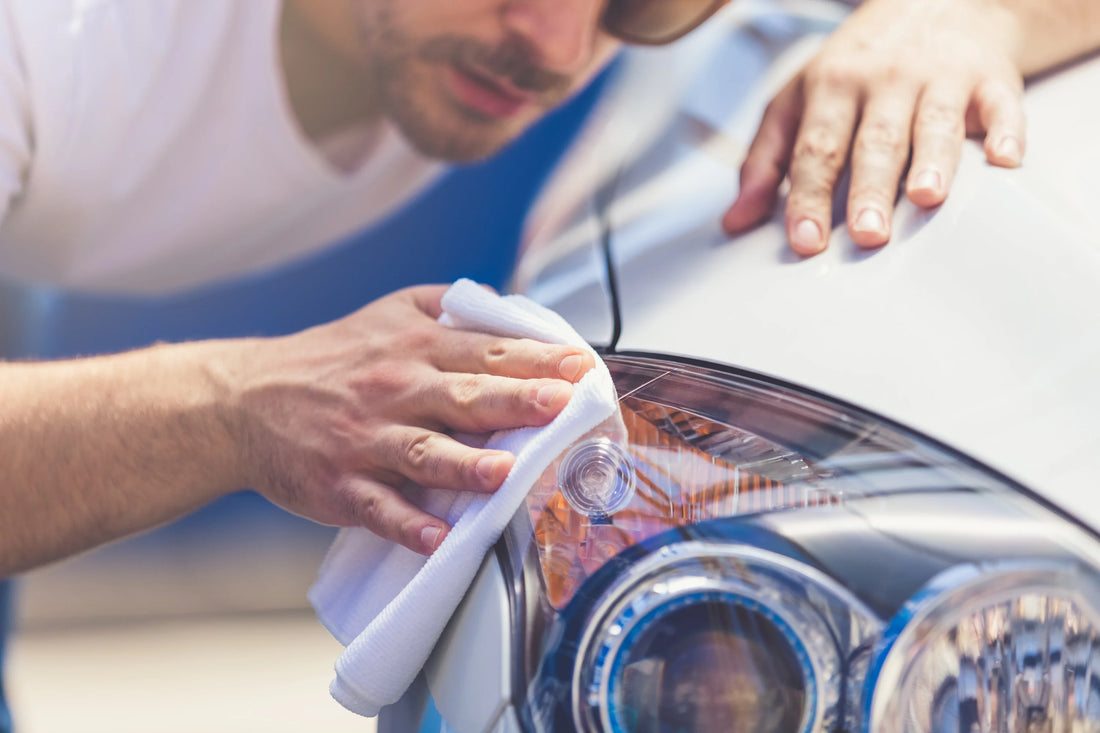
DIY Headlight Restoration Made Easy
If you have faded, scratched and discolored headlights, you can restore them easily using DIY methods, but it must be done quickly before the plastic is damaged beyond repair. While you can try remedies such as toothpaste, baking soda or other home products, they can’t restore plastic or clean acrylic surfaces. A lot of effort for very little reward.
To make your headlights looking brand new again, order your NOVUS Plastic Polish kit and follow these 10 steps.
- Apply NOVUS 1 Clean & Shine to the headlights and wipe with a clean, soft, lint-free cloth immediately.
- Apply NOVUS 2 Fine Scratch Remover to the surface. Using a clean, soft cloth, polish with a firm back-and-forth motion to remove the scratches or haziness. You might need to apply more pressure for more severe damage.
- When the scratches have been polished out, reapply NOVUS 2 uniformly in a circular motion to the entire surface using short, circular strokes and light pressure. Allow the surface to dry to a light haze.
- Using a clean portion of the cloth, buff the surface to a slippery glaze using firm, short strokes.
- If headlights are still scratched or hazy then apply NOVUS 3: Heavy Scratch Remover.
- Using a clean, soft cloth, polish with a firm back-and -forth motion at right angles to the scratches. Continue polishing until only fine scratches remain and then use the cloth to remove all remaining polish.
- As an extra step, you may want to spray NOVUS 1 on surface to help get all the NOVUS 2 off the surface.
- With a clean cloth, apply NOVUS 2 in a circular motion uniformly to the entire surface. Polish using light pressure until it dries to a light haze.
- Using a clean cloth, buff the surface clean. You should see the headlights looking their best now.
- For best results, follow with NOVUS 1 for the best shine.
And there you have it. A quick and easy way to restore your vehicle’s shine with DIY headlight restoration.
But did you know that you can follow the above steps for other plastic and acrylic surfaces too? Use NOVUS Plastic Polish to clean, restore and repair the following:
- Auto Headlamps, Interiors, Gauges, Chrome, & Acrylic Paints
- Motorcycle Windscreens, Visors, Fairings & Helmets
- Snowmobile Windshields, Helmets, & Hoods
- Boat Windows & Fiberglass
- Emergency Vehicle Light Bar Lens Covers
- Collapsible Windows on Convertibles & Sport Utility Vehicles
- Gauges & Instrument Control Panels
- Safety shields & Goggles
- Airplane Windows
We want to know how you used NOVUS to restore your headlights! Share your photos or videos on your favorite social channels using #NovusPlasticPolish.